3D Layered Best Mom Coffee 3mm Laser: A Heartfelt and Stylish Gift for Coffee Lovers
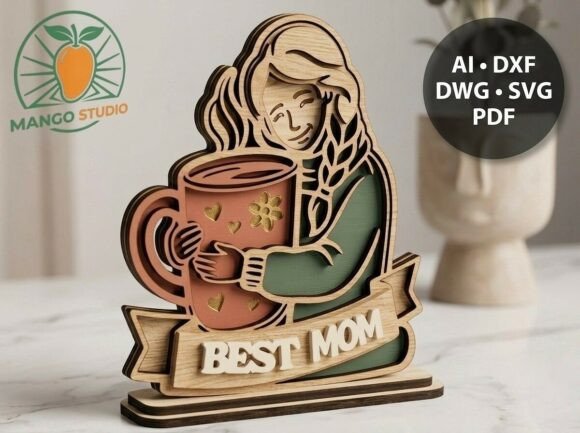
Looking to craft a meaningful, personalized gift that combines both warmth and style? The 3D Layered Best Mom Coffee 3mm Laser design is an excellent choice for creators, small business owners, and anyone interested in laser cutting or CNC projects. This heartfelt multilayered piece captures a cozy moment of a girl hugging a giant coffee mug with a “Best Mom” ribbon at the base—perfect for Mother’s Day, birthdays, or simply to celebrate a coffee-loving mom in your life.
What Is the 3D Layered Best Mom Coffee 3mm Laser?
The 3D Layered Best Mom Coffee 3mm Laser is a ready-to-use digital design crafted specifically for laser cutting machines like Glowforge and CNC routers. It uses multiple layers of materials such as plywood, MDF, or acrylic to create a three-dimensional effect that adds depth and visual appeal. The design is optimized for 3 mm thickness, ensuring it fits well within standard laser-cutting parameters while maintaining structural integrity and aesthetic detail.
This design is ideal for both beginners and seasoned professionals who want to deliver a unique product with minimal hassle. Whether you're creating custom gifts, selling personalized décor, or just experimenting with new ideas, this layered design brings charm and elegance to any space.
Common Mistakes When Using the Design
Despite its simplicity and elegance, there are some common pitfalls users encounter when working with the 3D Layered Best Mom Coffee 3mm Laser design. Avoiding these mistakes can significantly improve the final outcome and customer satisfaction.
Misunderstanding Material Compatibility
One frequent mistake is assuming the design will work equally well on all materials without considering their properties. While the files are optimized for 3 mm plywood, MDF, and acrylic, other materials may not yield the same results due to differences in density, grain, or melting behavior during laser cutting.
Better Approach: Always test the design on a small sample of your chosen material before committing to a full project. This ensures the laser settings remain accurate and the final product maintains its intended shape and durability.
Ignoring Bridge Gap Requirements
The design includes areas with varying bridge gaps. Critical load-bearing sections require a minimum gap of 1.5 mm to maintain strength, while decorative elements use smaller bridges for more intricate details. Overlooking this distinction can lead to fragile parts or unnecessary over-engineering.
Better Approach: Review the technical specifications provided by Mango Design Studio. Understand which areas need reinforcement and which can be left delicate. This helps in balancing aesthetics with functionality and prevents wasted time and materials.
Using Incorrect File Formats
Another common oversight is selecting the wrong file format for your machine. The design comes in various formats including AI, DXF, DWG, SVG, and PDF, but each has specific applications. For example, using a PDF for laser cutting might result in poor alignment or loss of precision.
Better Approach: Choose the correct file type based on your equipment. If you’re using Adobe Illustrator, opt for the AI version; if you’re working with Glowforge or CNC machines, DXF or SVG are typically the best choices. Double-check your machine's compatibility before downloading.
How These Mistakes Impact Your Results
Each of these errors can affect different aspects of your project. Using incompatible materials might cause warping or burning, especially with acrylics or woods that have high resin content. Ignoring bridge gaps could lead to breakage during assembly or shipping, damaging the product and reducing customer satisfaction. Selecting the wrong file format can result in misaligned layers, making the final product look unprofessional and lowering its perceived value.
These issues don’t just impact the quality of the item—they also influence how efficiently you work. Time spent correcting flawed cuts or reworking broken pieces reduces productivity and increases costs, particularly if you're producing items for sale.
Practical Tips for Success
- Test Before You Commit: Always do a trial run with a small section of your material to ensure proper cut depth and accuracy.
- Review Technical Details: Check the minimum bridge gap requirements and layer alignment instructions included in the design archive.
- Use the Right Software: Make sure you open the file in compatible software (like Adobe Illustrator or AutoCAD) to preserve vector paths and adjust settings if needed.
- Optimize Assembly Instructions: If you're selling the finished product, include clear step-by-step assembly guides to help customers put the layers together correctly.
Real-World Examples
A local shop owner once tried using the design on a thick pine board without adjusting the laser power. The result was uneven cuts and a warped structure. After switching to birch plywood and running a quick test, they achieved clean lines and sturdy construction. Now, their shelves are lined with completed mugs that customers love to display in their kitchens or living rooms.
Similarly, a hobbyist forgot to check the file format and imported a PDF into their Glowforge software. They ended up with blurry lines and misaligned layers. Once they switched to the SVG version, everything snapped into place, and the final product looked exactly like the preview image.
What to Check Before Getting Started
To ensure your project goes smoothly, here are a few key points to review before beginning:
- Material Thickness: Confirm that your material is exactly 3 mm thick. Deviations can throw off the design’s proportions and structural balance.
- Machine Settings: Adjust speed, power, and focus according to the recommended guidelines for your specific machine and material.
- Layer Order: The design is built with multiple layers that must be stacked in the correct sequence to achieve the intended 3D effect. Misplacing even one layer can ruin the illusion.
- Design Preview vs. Reality: While the preview gives a good idea of the final product, always consider lighting, color, and texture differences when choosing materials.
Why This Design Stands Out
Compared to flat 2D designs, the 3D Layered Best Mom Coffee 3mm Laser offers a more dynamic and engaging presentation. It allows for customization in colors, finishes, and even mounting options. Because it's pre-designed and structured for ease of use, it saves time and effort compared to building a similar scene from scratch.
Moreover, the inclusion of the "Best Mom" ribbon makes it a thoughtful and sentimental piece. Customers often appreciate the emotional resonance behind such gifts, which can enhance brand loyalty and repeat purchases if you're using it for business purposes.
Final Thoughts
The 3D Layered Best Mom Coffee 3mm Laser is a beautiful and versatile design that blends practicality with heartfelt creativity. By understanding the nuances of material selection, bridge gaps, and file formats, you can avoid costly mistakes and produce a product that truly stands out. As with any creative endeavor, preparation and attention to detail make all the difference.
We hope this guide helps you bring a touch of warmth and style to your customers’ homes. Thank you for choosing Mango Design Studio—we value your support and trust in our creations to inspire joy and connection through thoughtful design.